Reloading Handgun Ammunition
Bench
Finding a good place to load your ammo is a critical first step. Since most novice loaders will be using a press than can resize cases, many people simply opt for the corner of a basement to begin their loading. If you have one available, a walled-in room that can be designated for reloading is even better.
Make a sturdy bench by using 2x4 construction. Ideally, look to cover your bench with a Formica top. If Formica isn’t an option, choose pine or oak. Because compound presses create so much force, bolting the table to the wall and floor is a good idea as well. You certainly want to avoid the bench moving as you are loading your rounds.
Gear
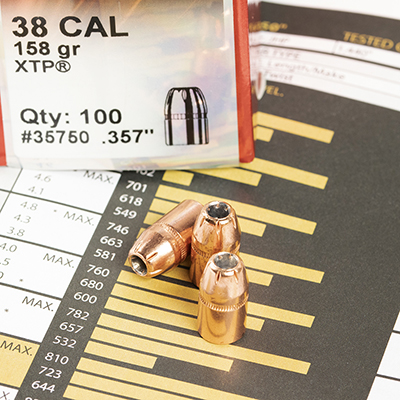
Some of the equipment for reloading can be found in standard reloading kits, which is an economical way to purchase your tools. Others must be purchased individually, like reloading dies for each cartridge that you load. For example, in pistol calibers, the same die will work for the .38 special or the .357 Magnum.
Manual
We also suggest obtaining a high-quality and up-to-date loading manual. You can also subscribe to loading data through various websites online. This information will be critical for your reloading process, and is published by many reputable manufacturers. These manuals will give you complete rundowns on best loading practices, bullet types, weights, and primers.
Step-by-Step Procedure
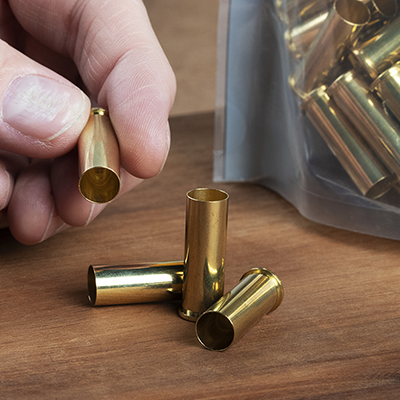
Step 1 - Check all casing
Visually check all of your cases or packaging pieces, grit, brass chips, or debris before lubing or running them into a carbide-sizing die. Be sure to use new brass.
Step 2 - Lubricate cases
If you are using standard dies, lubricate all cases. If carbide dies are being used, skip this step. Carbide dies are more popular for loading handgun ammunition, as they do not require cleaning the cases after lubing.
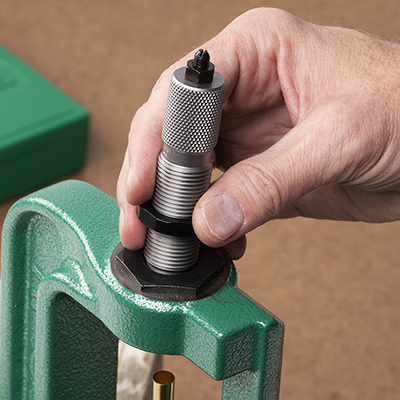
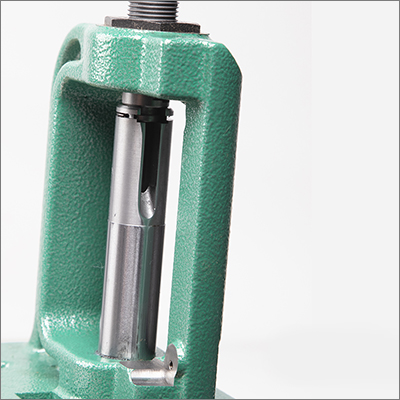
Step 3 - Insert sizing die into press
Insert the sizing die into the press. Because die sets are adjustable, they allow the hand loader to set the base of the die so it either touches the shell holder on the down or upstroke of the handle. This depends on how the press is set up.
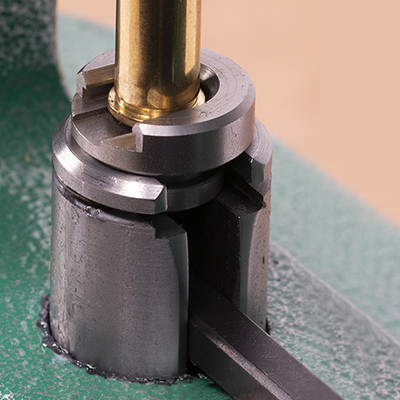
Step 4 - Insert cartridge case into shellholder
Insert the cartridge case into the shellholder that you installed on the press.
Step 5 - Expell primer
Be sure to run your cases all the way into the fixture of the sizing die. The primer of any fired cases will be expelled at this time.

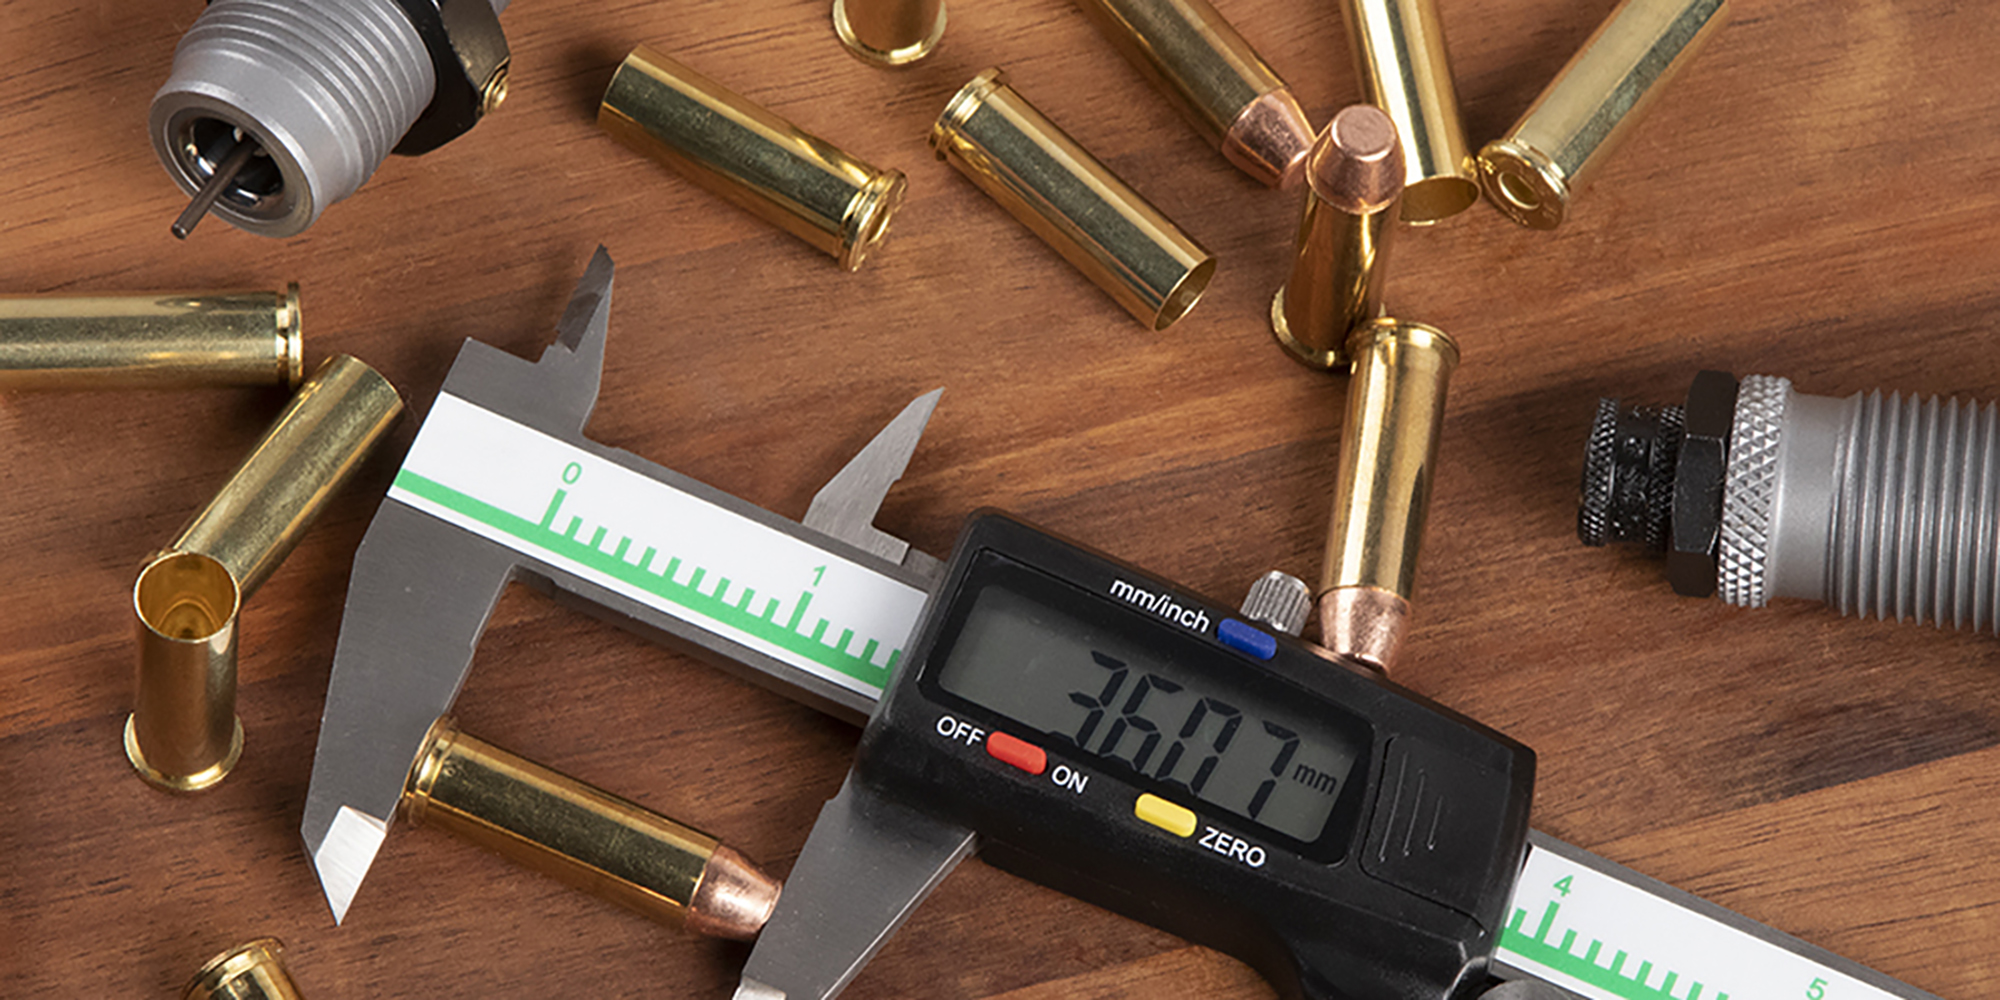
Step 6 - Check case length
If a case lube was used, check each case for its proper overall length after cleaning. You can use a dial micrometer to do this, or the inexpensive plastic gauges that are sold by loading manufacturers.
Step 7 - Trim cases
If any of your cases do exceed their ideal length, be sure to trim them appropriately. This will ensure proper chambering and uniform crimping.
Step 8 - Clean case mouth
If needed, use a deburring tool after trimming to clean up the case mouth. You can simply use the pointed end to make a chamfer in the mouth of the case. After this, use the opposite end on the outside edge if needed.
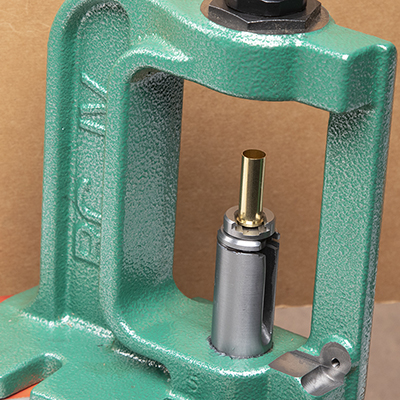
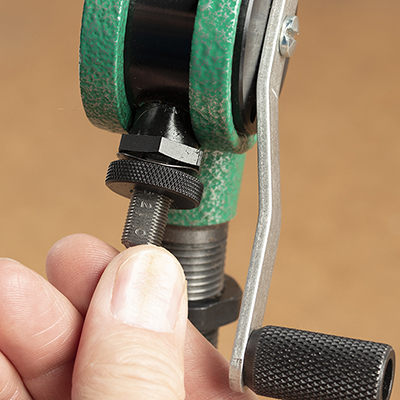
Step 9 - Flare case mouth
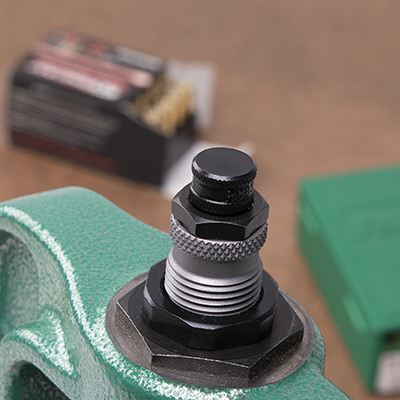
Use the neck expander to replace the sizer die. This will set the case flare to accommodate the base of the bullet. Be sure not to over flare the case mouth.
Step 10 - Case mousth flare
Shown here is the amount of flare of the case mouth. When seating your bullet, ensure it enters straight.
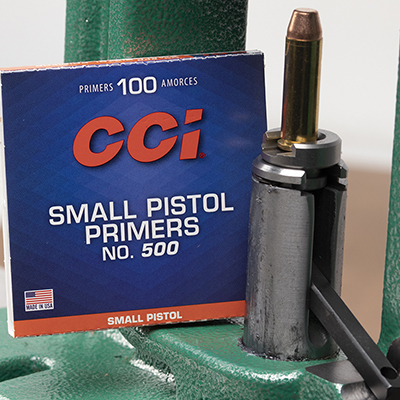
Step 11 - Select the appropriate primer
Consult your loading manual so you pick the appropriate primer from the listing.
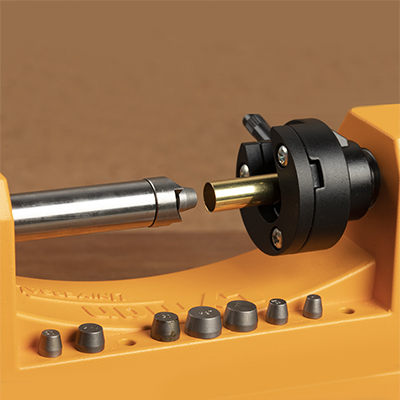
Step 12 - Seat the primer
Be sure to seat your primers very carefully. One method is on your press with an attached primer arm. You can also use a hand-priming tool. Alternatively, still, you may choose to use a special automatic priming tool. Be sure the primer is entirely seated to the bottom of the pocket.
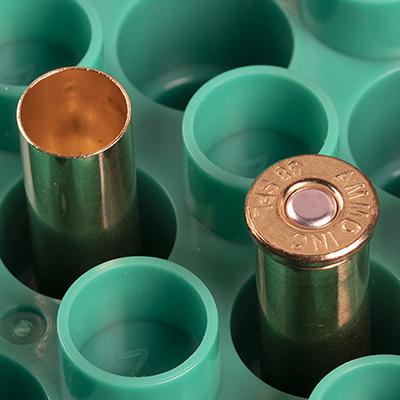
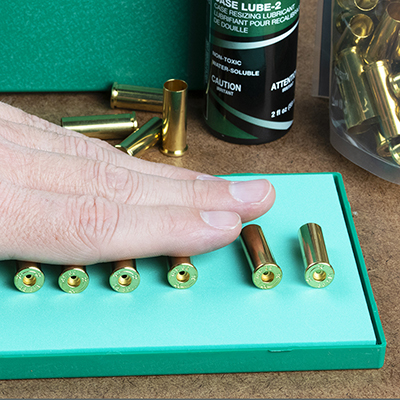
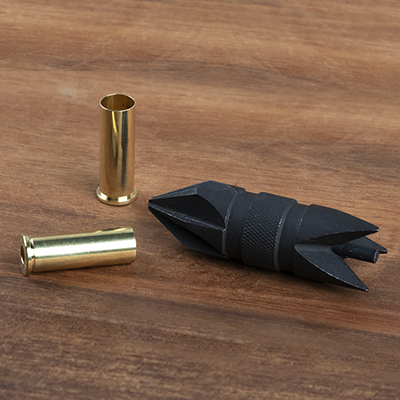
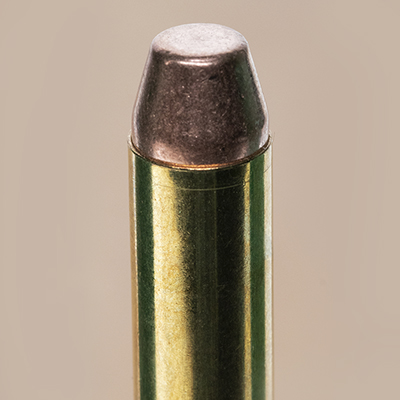
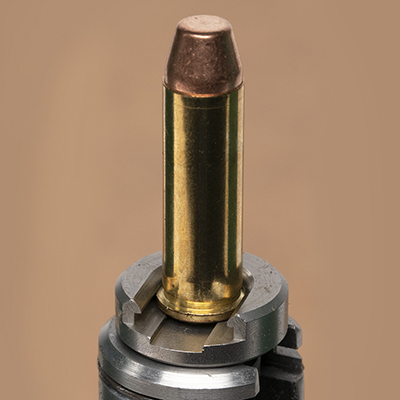
Step 13 - Primed case example
Above on the right, you will see a primed case that is flared and ready for a powder charge. On the left is an entirely unprimed case.
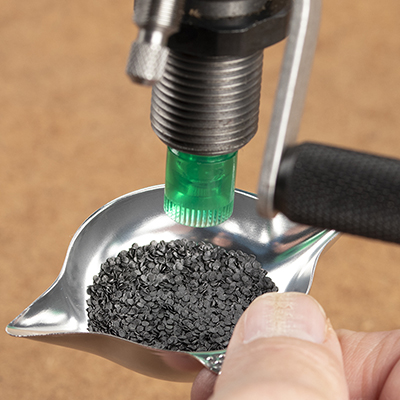
Step 14 - Select correct powder charge
To be absolutely sure that you are using the correct powder for your cartridge, consult your loading manual or another reliable source of loading data.

Step 15 - Set up loading scale
Set up your loading scale and zero it out. With many modern powders, it is critical to zero your scale every use. Overcharging a round can result in damage to both you and the firearm.
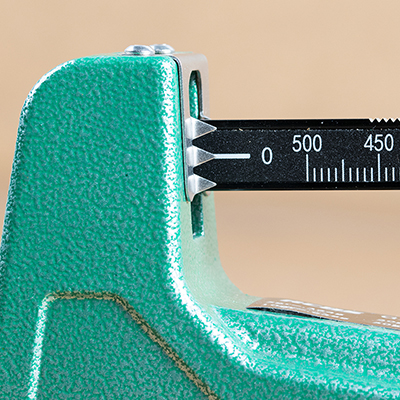
Step 16 - Zero out weights on loading scale
Double-check to ensure that all of the weights on your scale have been zeroed out. The arm end of the scale should balance precisely at zero.
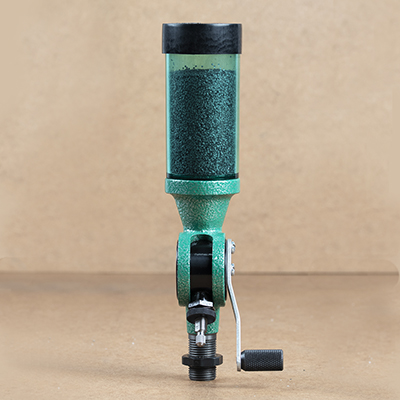
Step 17 - Set up powder measure
Set up the powder measure on a rigid surface. Alternatively, some companies offer screw clamps that can be used for this purpose.
Step 18 - Adjust powder measure
Again consult the loading manual, and adjust your powder measure to correctly drop your load choice. Continue to adjust the measure until your powder scale reads the correct weight.
Step 19 - Determine average powder charge
To determine the average charge, place ten charges into your pan. Weigh them as a single batch, and divide by 10.

Step 20 - Charge cases
In an organized fashion, charge all of the cases by row until they are filled. Carefully check every case for any double charges. If you are loading light, it is easy to put multiple charges into a single case.

Step 21 - Seat bullet
Follow your loading manual and instructions for the seating die. Many users prefer to adjust the die to stop when the case mouth comes in contact with the crimping shoulder. From there, simply insert the bullet seater and adjust for the overall length of the bullet. Insert the bullet into the charged case mouth by hand, ensuring that it is straight with the case’s sides.
Step 22 - Adjust bullet seating depth
Screw down the seating body, until it barely is touching the mouth of the case. Move the seating stem downward by raising and lowering the cartridge case, as you adjust the bullet seating depth.
Step 23 - Check all casing
If you are loading rounds for a revolver, you’ll need to take special precautions here. For a quarter-turn, back off the seating screw and tighten it. Next, turn your die body downwards almost a complete turn, and then tighten it. This is where the die will turn the case mouth into the crimping cannelure. This will ensure the bullet doesn’t move during recoil, and is usually referred to as the ‘crimp position’.
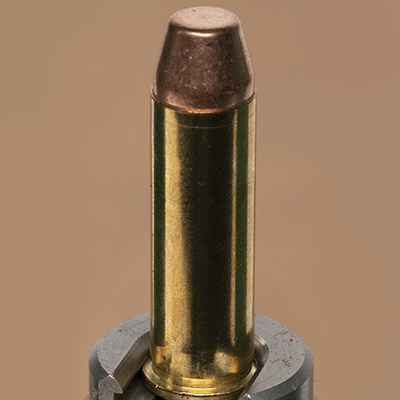
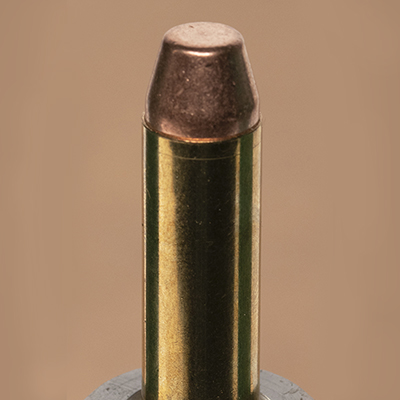
Step 24 - Check all casing
You have arrived at the finished product. Make another thorough visual inspection to ensure the crimp is completely even around the case mouth. The primer should be just below flush with the bottom of the case. Record all data and measurements for your own future reference.