How to Aim a Recurve Bow
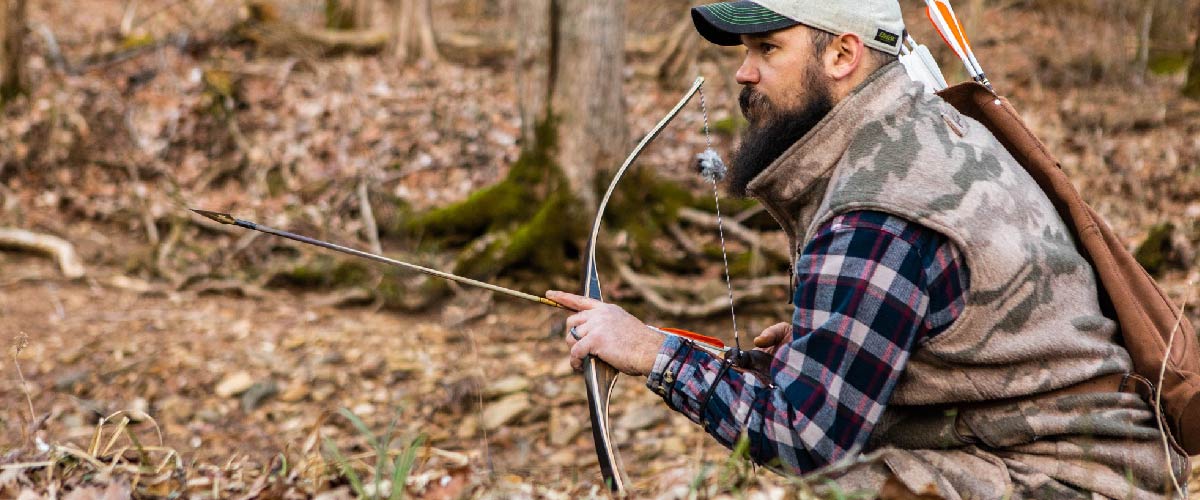
Whether you’re practicing archery for target shooting or hunting, your aim is vital. Before you start working on your aim, make sure that you’ve selected a bow with an appropriate draw weight for the task at hand – you’ll need a heavier draw weight for hunting than for simple target shooting. Make sure also that the bow is the right size for you, and that you’ve selected the best arrows for your purposes.
Once you have all of your materials together and your target set up, it’s time to take aim.
Step 1: Stance
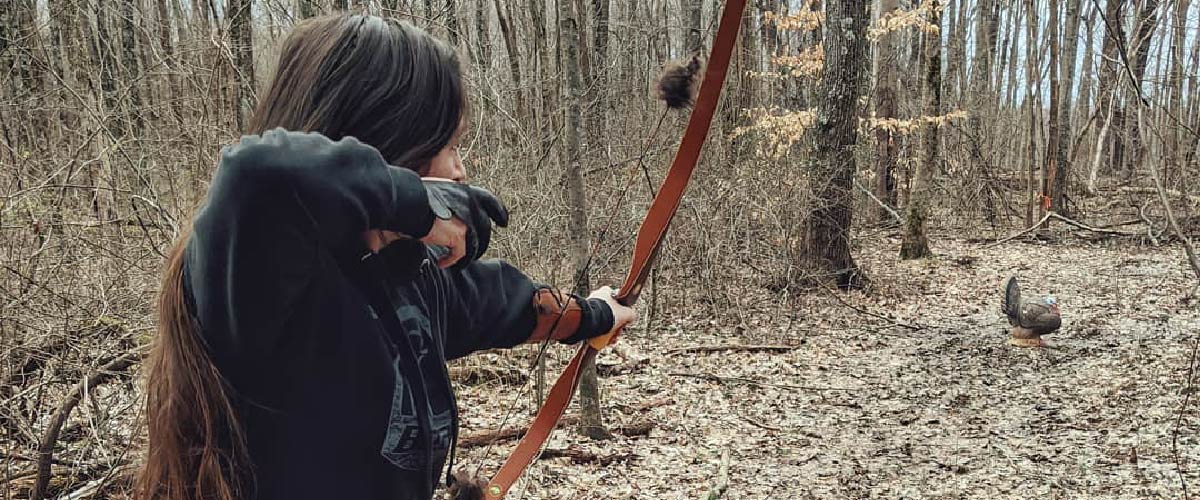
Your stance is a crucial part of the aiming process. You should stand perpendicular to the target. If you are right-handed, your left hip should point toward the target. If you are left-handed, your right hip should point toward the target.
Be careful not to lean one way or the other – it’s important that you maintain a straight posture. Your feet should be shoulder-width apart, on either side of the shooting line.
Finally, turn your head toward the target without turning the rest of your body. Keep your shoulders relaxed.
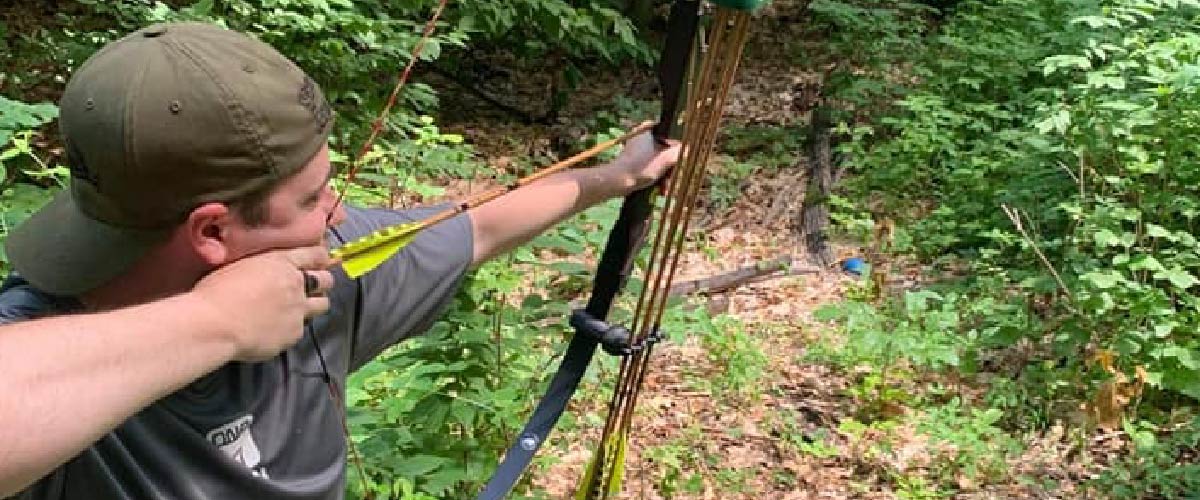
Step 2: Gripping the Bow
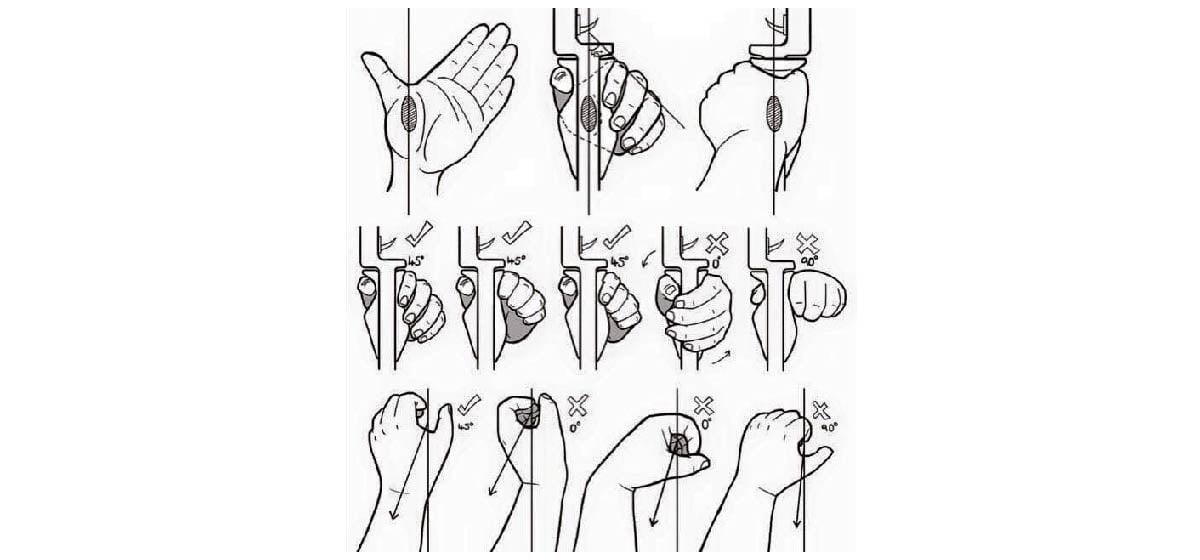
Hold the bow in your dominant hand. Recurve bows offer a hand grip or handle where you can grip the bow firmly, but comfortably. You don’t need to clutch the bow; holding on too tightly can lead to inaccurate shooting. Stay relaxed so that all of your movements will be fluid.
When you grip the bow, your knuckles should be at about a 45-degree angle on the bow.
Step 3: Loading the Arrow
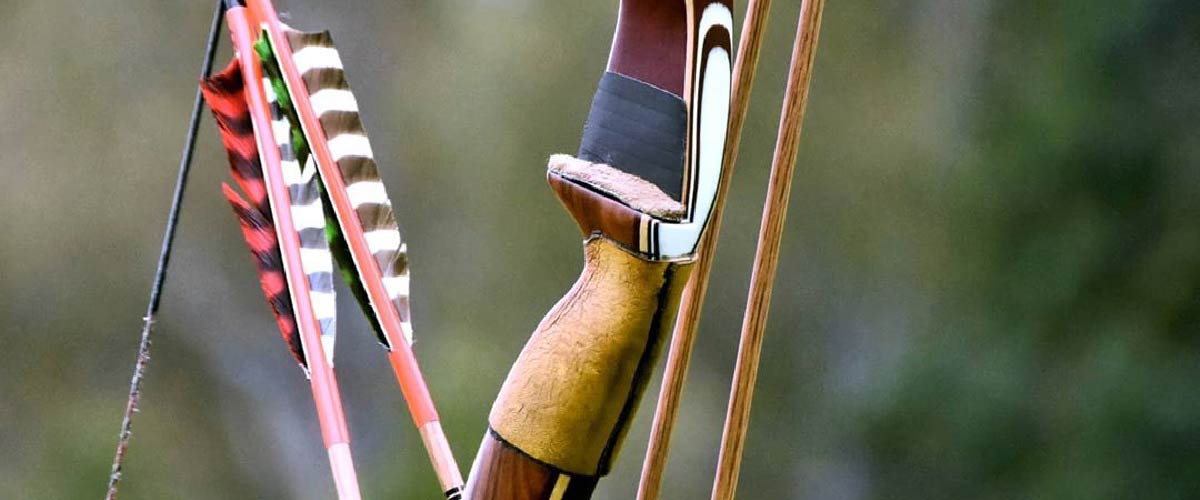
Now, load the arrow by fitting the notch at the arrow’s end onto the bowstring. You can do this before you lift the bow, and before you draw the string.
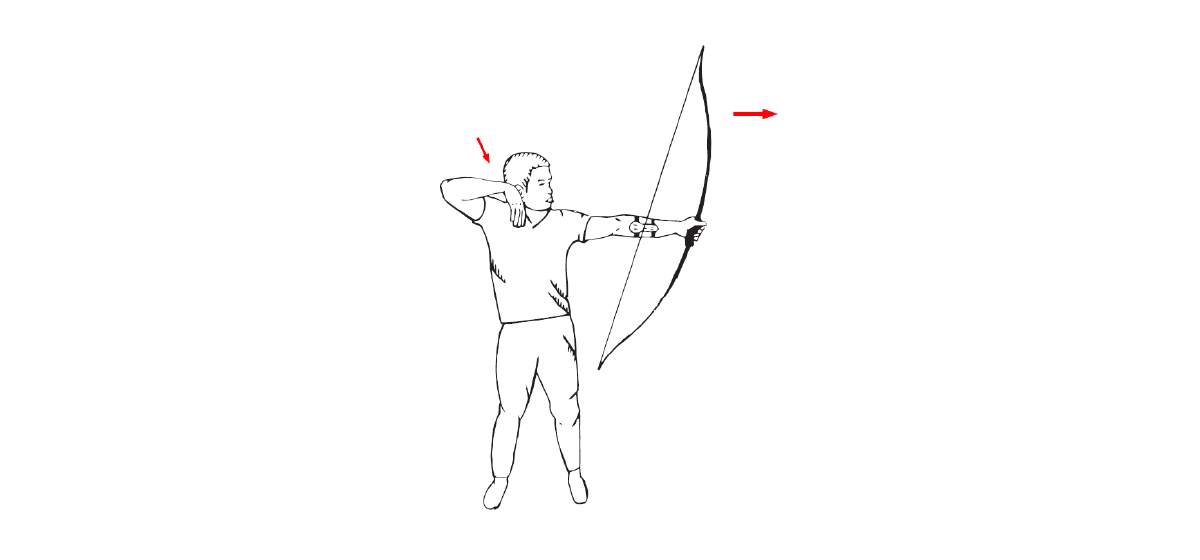
Step 4: Drawing the Bow
Keep your dominant arm straight and lock your elbow as you lift the bow. Locking your elbow makes drawing the bow easier.
Then, pull the bowstring back. You should draw back far enough that your hand rests under your jawbone, and the bowstring touches your face. This creates your anchor point.
As you continue shooting, you can work on using your stronger back muscles to pull rather than your arm muscles.
Step 5: Aim
Once your bow is drawn, you’ll need to take a quick moment to check your stance to see whether your torso has twisted to face the target. Your body should still be perpendicular to the target.
At the same time, adjust your aim. If you are using sights, look down the center of the scope and position the pinpoint in the center of the target.
If you are not using sights, look down the arrow and position the point of the arrow over the target.
All of this should happen very quickly. You shouldn’t take so long to aim that your arm starts to shake from holding the bow, or that your stance starts to warp.
Step 6: Shoot!
Once everything is set up, release your fingers to loose the arrow. This should be a gentle motion, like relaxing your fingers from the string.
Keep your position until you see the arrow hit your target.
As you are improving your accuracy, make sure to take note of where your arrows are landing. Are they consistently left of target? You may need to check your stance and aim to correct this.
With that new information, go back to step 1, and do this all over again!